PLANTING INSTRUCTIONS
We here at Crooked Bend understand that there are many different planting methods to successfully plant and grow food plot seeds. The method in which is explained below, "No-Equipment, No-Till, No-Problem" is designed for beginners and uses very minimum equipment. Although heavy machinery can make the job easier and faster, it is not required.
USE THESE CROOKED BEND SEED BLENDS WITH THIS METHOD: Bransons Buffalo Blend, Last Resort, Four Clover Combo, Dwights Beets, and Memas Moo Mix.
MATERIALS LIST:
- One person that is ready to work.
- Handheld/backpack sprayer.
- Water.
- 41% glyphosate herbicide.
- Non-ionic surfactant.
- Liquid blue spray dye (optional).
- Handheld/over the shoulder spreader.
- Food plot seed.
- Soil Test Health Evaluation.
- Soil amendments (as recommended by soil test results)
INSTRUCTIONS:
STEP #1: Prepare Area.
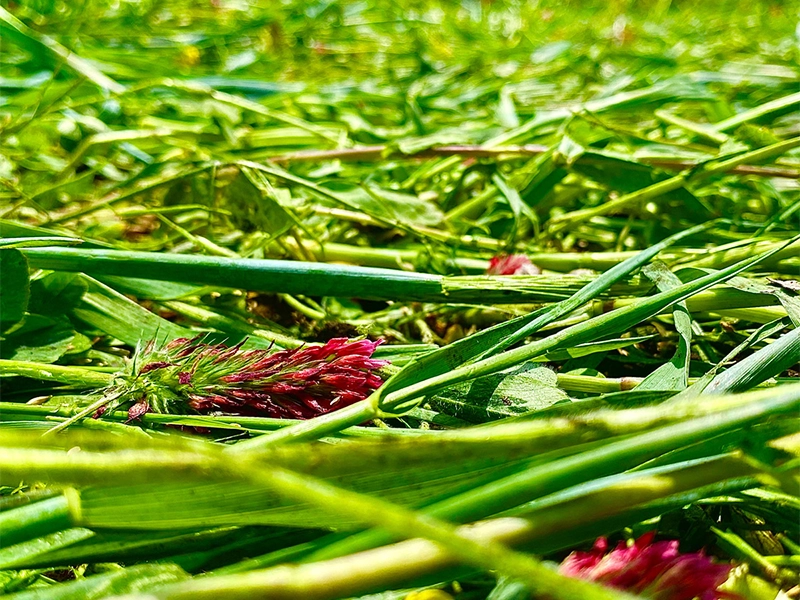
Identify the area in which you want to plant your food plot and simply, clean up and remove heavy debris from the plotting area (like fallen logs, large rocks, non-desirable trees/bushes that are blocking sunlight.) Do NOT mow or brush hog the planting area! This will only strength the root system of the undesirable plants and will make the neutralization process to be very much less effective. Before you leave, collect multiple soil samples from your food plotting area, these will be needed in step #2. Do NOT till the planting area! This is NOT required or recommended when planting this seed blend. Tilling will only give opportunity for old weed seeds and have an incredibly negative impact on soil health.The reality of the situation is turning over the soil in the deer food plot prior to planting can allow old weed seeds from year’s past to have a fighting chance at beginning germination. There are weed seeds in the soil that could be as much as 50 or 60 years old, still alive and well, but didn’t have access to air in years past and thus, were unable to grow. By going through the process of tilling, these seeds get a chance to breathe and potentially sprout into major problems for the deer food plot they’ve been trying to establish in for perhaps decades. Air is critical, but so is the proper ground and moisture levels that these weed seeds may have never been able to achieve. By disking the soil, or simply turning it over, you disrupt the potential many layers of seed bank patiently waiting their chance to take over your deer food plot.
STEP #2: Soil Health Evaluation.
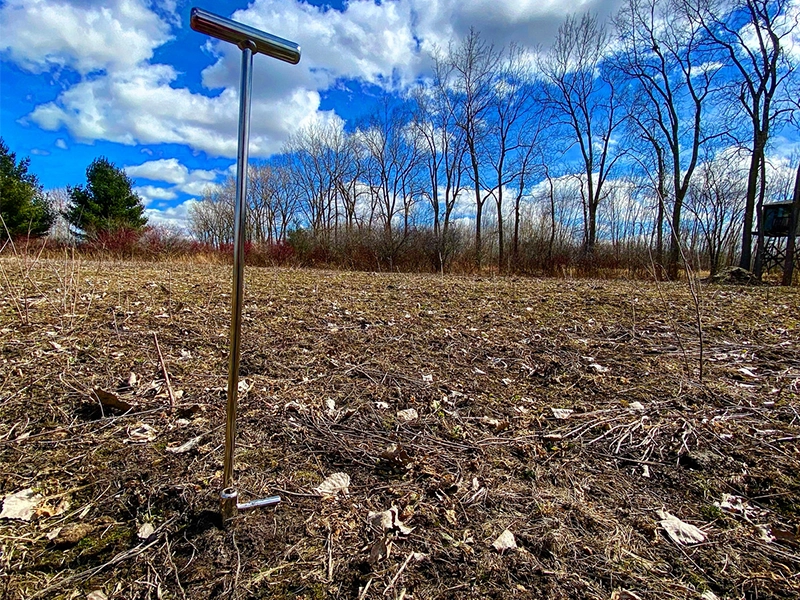
A soil evaluation will provide you with a road map of the unique requirements for your specific food plotting area. Soil evaluation results possess valuable information about your soil health's current condition and they also provide guidance on what soil amendments should be added to allow your plants to flourish to full potential. (Crooked Bend offers a premium soil food web health evaluation and a full year of growing advice.) Sending your soil sample into the lab will require for you to collect some soil samples from your food plotting area (as mentioned in step #1), put them in little baggies and then, ship them off to a corresponding laboratory for result processing. The soil testing results are often emailed back to the customer within a week or two (these results will be required for step #5.)
STEP #3: Neutralization.
The perfect time to execute this step is when the weeds and existing vegetation inside of the planned plotting area are between 3 to 6 inches in size (if the competing vegetation is larger than 6 inches then, this step may need to be repeated.)
Create the herbicide solution using the following mixing recipe.
For every 1 gallon of water add:
- 3 fluid ounces (a little over 3/8 cup) 41% glyphosate herbicide. This should be the simple stuff that you can find at your local tractor store or online. Always follow manufactures specifications for the actual herbicide that you are using. Glyphosate is a non-selective, broad spectrum and ground neutral herbicide. In simple terms, this means that the herbicide liquid must touch any green area (leaves, stems) of a plant to kill it. This herbicide does not affect the plant's root systems and it does NOT prevent future plants from germinating and growing. This herbicide will also have NO effect on seeds; therefore, it is safe to plant your seeds at the same time as spraying if you want to save time.
- 1 tablespoon of non-ionic surfactant (also found at your local farm store or online.) Surfactant will break through the plants protective chemical barriers and enable the herbicide's effectiveness with increasing its ability to be absorbed directly into the plant's circulatory system. Some brands of glyphosate already contain a surfactant mixed into their herbicide which will be clearly marked on its package, requiring no addition.
- 1 tablespoon of liquid concentrated blue spray pattern mark indicator dye (can to be found at your local farm supply store or online.) When concentrated blue dye is added to your mix formula then it makes it very easy to see where you have sprayed and where you have not. Without the dye it is easy to miss areas or double and triple coat areas where not needed. This cheap addition not only help to save money on not wasting solution but it also helps to save time. The blue dye has no effect on the plants and is comparable to a super concentrated food coloring.
Each gallon of this formula will neutralize up to 1 acre of planting area.
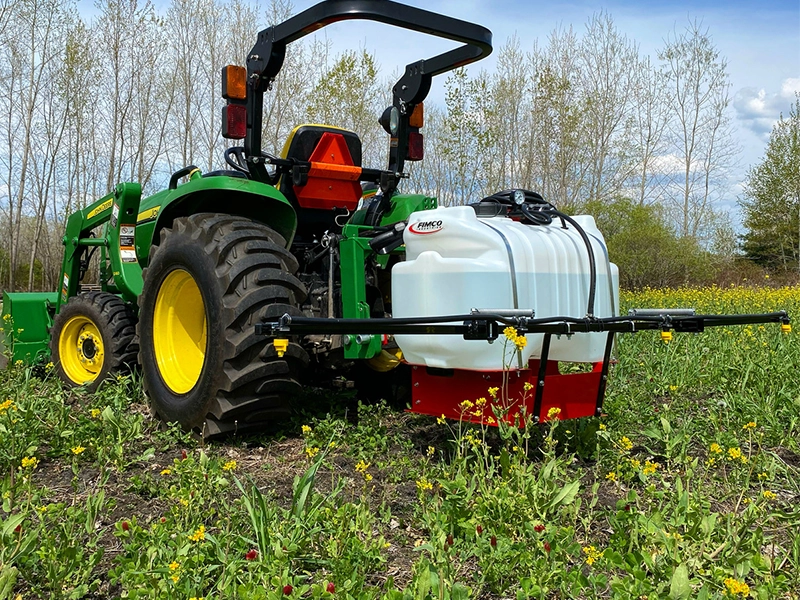
Fill up your sprayer and spray the plotting area with the above herbicide solution mix. Allow the solution at least 4 hours to dry. Be sure to check the local weather beforehand to avoid rain showers. Do not panic when the plants do not curl up, turn brown and die right away, as it can take up to 3 weeks to see the visible results taking effect. You can move on to step #4 as quickly as 4 hours after the above step is completed.
STEP #4: Broadcasting Seed.
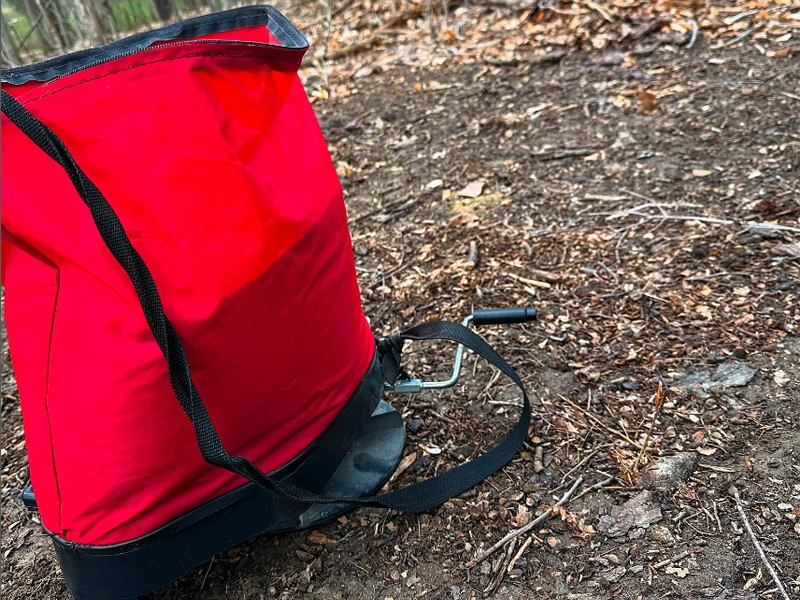
It is important and very critical to your food plot's success to plan this step within a 24 window of a series of good rain showers. Executing this properly kick-starts germination into full gear and starts the growing process moving full speed. Seeds do no go bad or expire while lying in the soil without rain. Rather, they get eaten, moved, and stashed away for a future snack by many birds and animals of the forest. So, the faster the seed gets wet then, the less of a chance birds and other critters have to consume it. When the time is appropriate and the rain is near then, fill up the should broadcaster with food plot seed and get ready to plant! The seeds in this blend are relatively small therefore, the hopper release setting on your broadcaster should be at a minimal opening (just big enough for the largest seed to slip through.) On common broadcast spreaders this is setting #1-#2. Simply, open up the hopper release on your spreader and walk at a brisk pace while turning the spreader's handle. It is much better to broadcast lightly and have to make multiple passes over your food plot, rather than dropping the seeds way to heavy to early and not have enough to cover your planned plotting area. It is also important to understand that seeds in a food plot are similar to fish in a pond. If the pond is small and too many fish are put into it then, the fish's growth is stunted and they will not get big. A similar situation applies with not growing to full potential for overcrowded plants that are in a small amount of space. As this is the case, do not over plant your seed. Reference the recommended planting rates by the supplier. Take your time and spread your seed evenly and then hope the rain that the weatherman promised actually shows up! Rain showers act as a trigger for germination and as a mechanical means to push the seed into the soil, promoting very important seed to soil contact.
STEP #5: Adding Soil Amendments.
This step can happen after the food plot seeds have begun to grow and are at least 6 inches tall. The soil amendments (like fertilizer or lime) that you will add to your food plot must be based on the soil test data recommendations that you received in step #1. Every food plot is unique and will require different soil additives. You can even take your soil sample test results into your local farm supply store and they can help you get the proper soil amendments or you can order them online. These items can be applied to your food plot using the same spreader that you used to broadcast your seed with. Do not be shocked when a couple hundred pounds of soil amendments or more are being asked for. These additions will provide an immediate impact on your food plot's growth as these amendments energize the ecology that lives in the soil, in turn enriching the plants and allowing them to grow to full potential. Fertilizers and lime in powder form only offer a short-term benefit to the soil/plant, however, slow release and pelletized options providing a longer benefit. When soil health is optimal then the dependence on synthetic fertilizers is heavily reduced or eliminated.
Get In Touch
11076 Norman Rd., Brockway, Michigan, 48097, USA
Quick Links
Copyright © 2025 Crooked Bend. Website by JZ Internet
